

Tired of plain single color tumblers? Follow an expert tutorial on how to personalize your very own tumbler with a gorgeous ombre glitter effect.
Whether you're a DIY newbie or a crafting pro, this guide will help you add pizzazz to any basic tumbler and turn it into a handcrafted masterpiece.
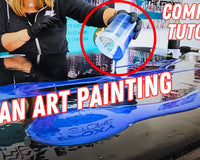
This is how to create a glitter fade on your tumbler cup. Follow this step-by-step video tutorial. https://youtu.be/ApHxNXk8MTo
Starting with the Basics
For the best results, a stainless steel tumbler usually takes the cake. However, in this tutorial, we’ll flex our creative muscles with a sublimation cup.
A white base is the secret to making your glitter shine like a diamond; you can either purchase a white tumbler or spray-paint your base for that extra pop of luminosity.
Products used in this tutorial:
- Lightning Cure Epoxy Resin
- Silicone Mat
- Freedom Glitter "Heaven Tears," "Betty," and "Winter Wonderland"
Prep Like a Pro
Before we start, let's prep our workspace. Clear that clutter, open up your crafting toolkit, and let's get to it!
Removing the Lid
The lid? We won't be needing that where we're going. So go ahead and pop it off.
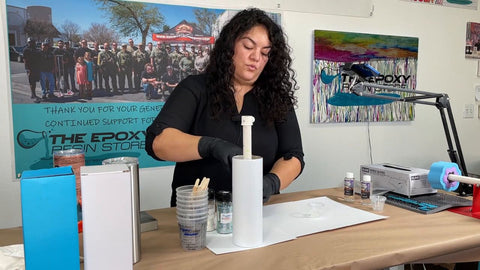
Setting the Stage with a Foam Football
To make this process a touch easier, grab a foam football insert. This clever little hack will let you hold and maneuver your tumbler like a pro, ensuring an even coating of glitter and epoxy.
Now, you could use a spinner, but for our ombre technique, keeping it at an angle is your ticket to a seamless blend.
The Importance of Sanding prior to Epoxy Resin
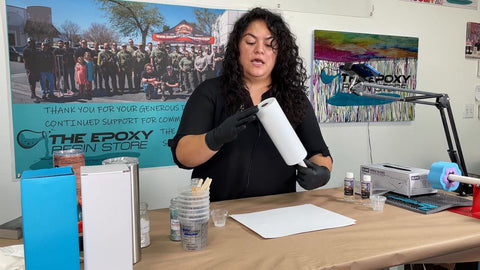
Take your trusty sanding block and scuff up your tumbler. This crucial step isn't about just roughing it up; it’s about setting the stage for the epoxy to grab onto.
Sublimation cups usually come with a slick coating, and we want our epoxy to cling to every curve of this tumbler like it's hugging an old friend.
"By creating grooves in the tumbler, we're giving our epoxy something to hold onto, ensuring durability and a professional finish."
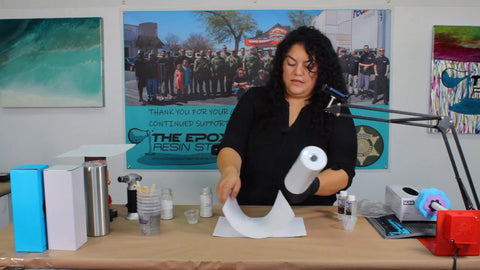
A Clean Slate
Once you've sanded your cup to perfection, wipe away the past—it’s time for a fresh start. An alcohol wipe swiftly followed by a dry towel will ensure no pesky particles crash our glitter party.
Let the Glitter Games Begin
With our cup prepped, let's move on to the main event—glitter!
Choosing Your Super Glitter Effects
For this project, I’m going with a trinity of mesmerizing glitters: "Heaven Tears," "Betty," and "Winter Wonderland" from Freedom Glitter. Feel free to select your own glitters that suit your vision.
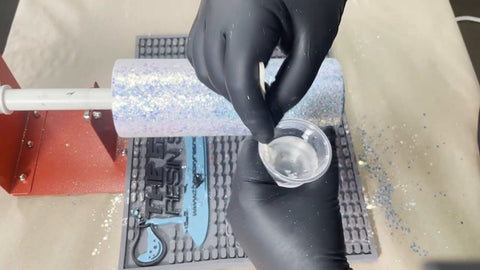
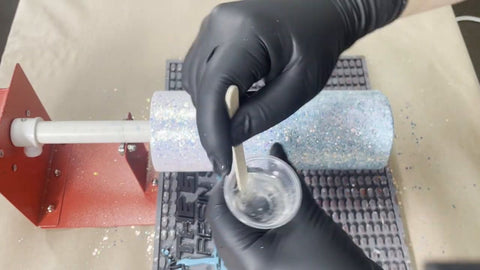
Mixing Epoxy Like a Chemist
Take your epoxy— we’re using a two-part mix here. Begin with part B, which is a bit of a slowpoke in leveling out, then follow up with part A. Remember to mix slowly to avoid a pesky army of bubbles.
Glitter Bomb!
With your epoxy gently coating your tumbler, it's time to rain down glitter like it's confetti on New Year's Eve.
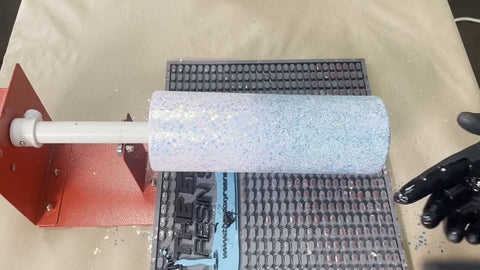
White Out
Start with the lighter color, drizzling white glitter at an angle to kick off the ombre magic.
The Fine Details
Enter stage left: fine glitter. This adds depth, filling in between the chunkier bits, reinforcing that ombre illusion.
Bringing in the Heavens Tears
Finally, lavish the bottom with "Heaven Tears," a chunky mix sure to evoke awe. Keep that angle, letting the glitter trickle down, and watch the ombre come to life before your eyes.
Sealing the Sparkle
Roll the tumbler in your hands, pressing the glitter down for that flush finish. Next up, it’s spinner time. If you're a righty, pour with your left hand and smooth with your right, and vice versa if you're a southpaw.
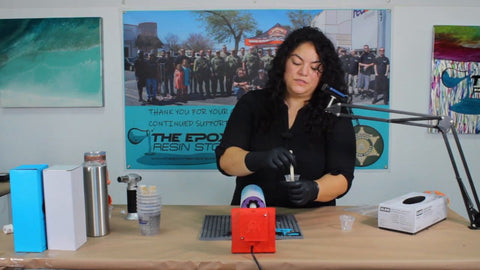
The Second Coat
After a light torching, a thin second coat of epoxy will secure your glitter in a clear, glossy embrace.
Finishing Touches
Smooth away excess epoxy, guiding it back into your mixing cup. Use a light hand and ensure the coat is thin. A quick torch session will banish any remaining bubbles.
Patience is a Virtue with Epoxy Resin

Give your tumbler a bit to set, then one to two more layers of epoxy may be added, depending on the initial coverage. Patience and precision here are key.
Wrapping Up
And there you have it, folks—a sparkling, custom-made glitter ombre tumbler fit for any occasion.
There's something truly special about wrapping your hands around a cup that's been infused with your own creativity.
Don't forget to hit that like button, subscribe to The Epoxy Resin Store, and follow them on their social media channels to stay up to date with the latest and greatest in DIY crafts!
Also follow the creator Cyn @ CynsTumblers
👉👉 If you liked this video and want to see more
👉👉 Comment "Epoxy Resin Tutorial" because that does two things.
1. It lets us know you like it, and encourages our creators!
2. Commenting gives you a chance to win within one of our upcoming givesaways. -hint-hint
https://www.theepoxyresinstore.com/ is an expert manufacturer of various epoxy resins that can be used for both craft projects and industrial applications. We also offer liquid inks, dyes, pigments, glitter, other additives, and tools for various epoxy resin projects.
The Epoxy Resin Store
support@theepoxyresinstore.com
Phone: (951) 677-0400
Address: 540 Crane St suite A Lake Elsinore, CA 92530
https://www.theepoxyresinstore.com
Social Accounts:
https://www.facebook.com/TheEpoxyResinStore
https://twitter.com/epoxyresinstore
https://www.linkedin.com/company/the-epoxy-resin-store
https://www.youtube.com/channel/UC3NKcCrYL5uHK-sH5XMQ9HA
https://instagram.com/theepoxyresinstore
#epoxy #epoxyresin #theepoxyresinstore


4 comments
Greg Mazza
Epoxy Resin Tutorial. Thanks for all the helpful suggestions.
Maria
Thanks for this great info!
Stephanie Stokes
Epoxy Resin Tutorial
Oliver Weihmayr
Epoxy Resin Tutorials are awesome. They have helped me get over the fear of being too creative and ruining the finished product. As a matter of fact, they have helped me become even MORE creative as a result.