Ultimate Guide to Prepping Your Kitchen for an Onsite Epoxy Pour!
Hey there, home improvement enthusiasts! Bronson here from the epoxy resin store, and I've rolled up my sleeves to walk you through the nitty-gritty of preparing for an onsite epoxy pour in your kitchen. Today, we're taking those old, dingy granite countertops and giving them a brand-new lease on life!
Getting Started on a new epoxy resin project? Start here ⬇️
You've seen them before – ugly countertops or maybe some that have been beat up and have seen better days. That's where we come in with epoxy resin to make them look pretty again.
Before we start all of that though, we have to start with a critical step: priming that surface to perfection. Because let's face it, stone is as stubborn as it gets – smooth and brittle, a tricky duo when it comes to adhesion.
Our secret weapon? An exceptional bonding primer. I've gone with Valspar's Extreme Adhesion, but hey, there's a range of heavy hitters out there like Xim, easily snagged from your local Sherwin Williams. So go ahead and get those surfaces primed, trust me, it'll save you a ton of headaches down the line.
Protecting Your Space

But before we dive into the main event, let's talk defense strategy. Our mission: no mess left behind. Resin does not play nice with beautiful cabinetry or pristine floors, and we're not in the business of creating extra work or forking out cash for replacements.
Here's the drill: grab that green painter's tape and run it along the entire top edge of the surface. This little green marvel knows its job – adhering without tearing off any finishes when it's time to remove it.
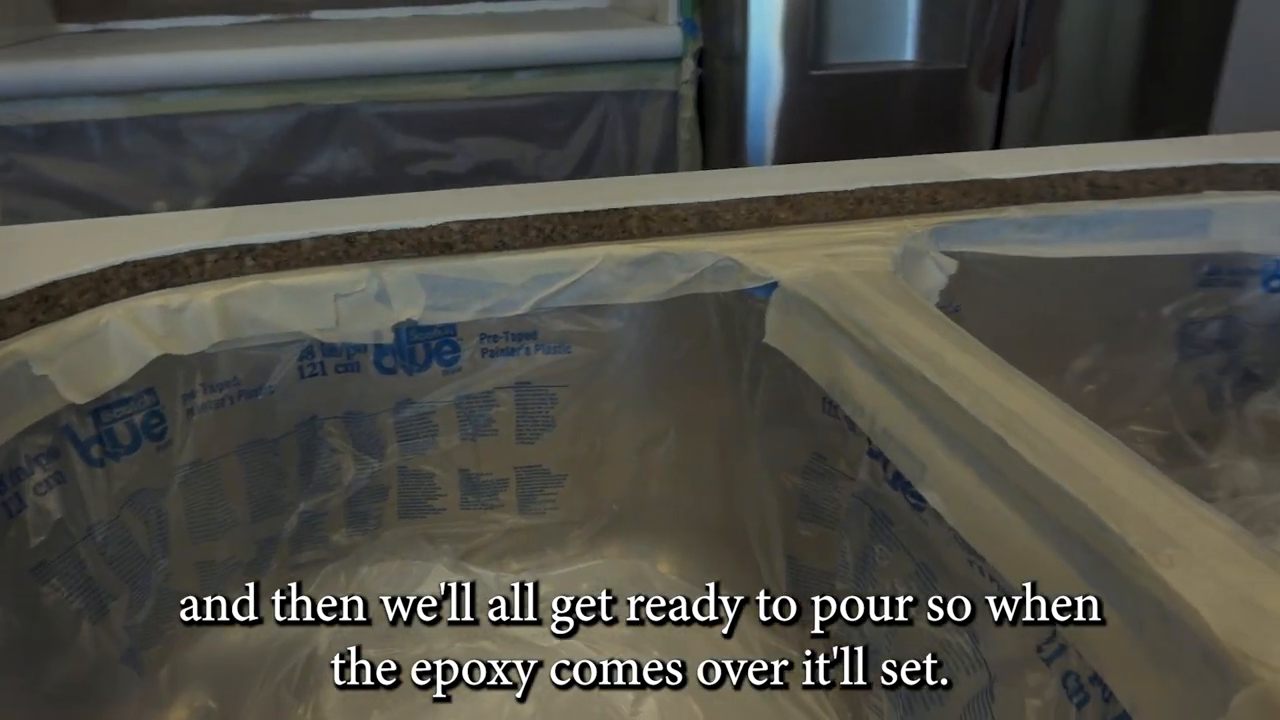
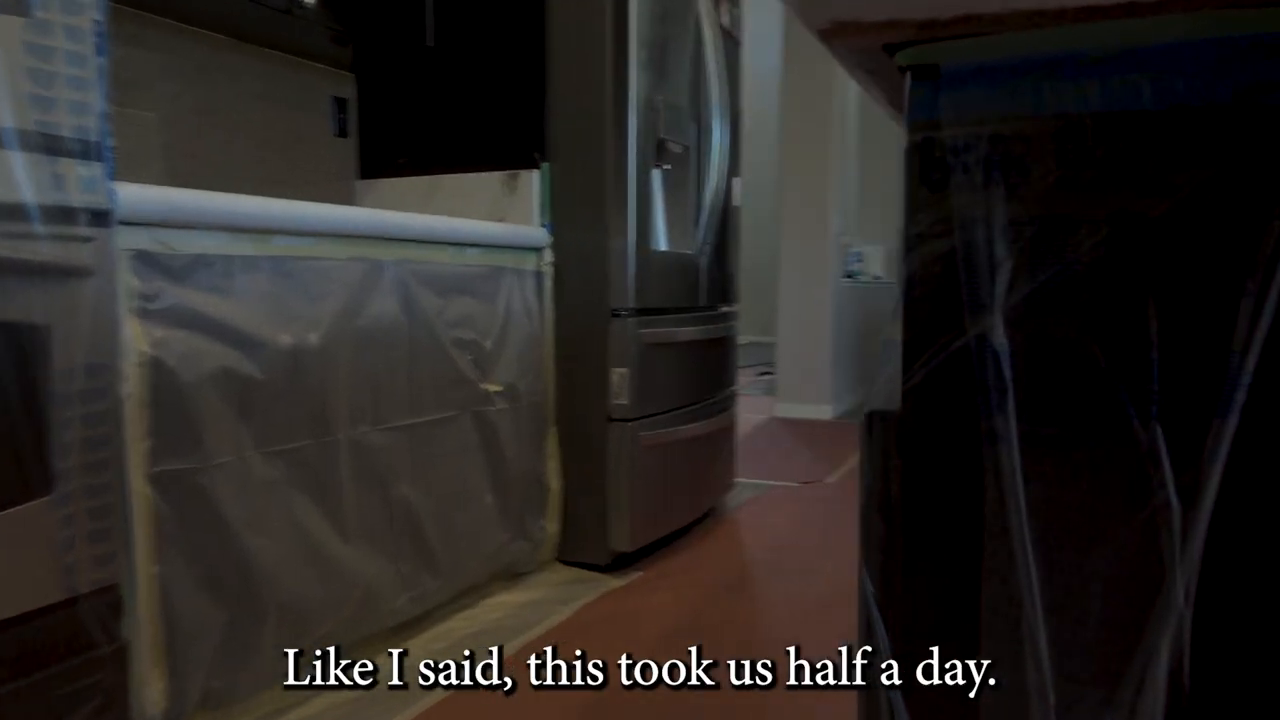
Next, we're stepping it up with heavy duty masking tape and a trusty three mil plastic sheet, laying down a barrier that's practically impenetrable. Drag that plastic sheet all the way around the perimeter, making sure it's one single fortress against any pesky drips of resin. This way, we're safeguarding our cabinets and floors without creating seams that can leak.

Prep time isn't a sprint, folks. It's a marathon that took us half a day, emphasizing that the devil truly is in the details. So go overboard with prep, and your pour will be nothing short of perfect.
Covering All Bases
Let's zero in on our trickiest adversary – the sink area. You'll want to engineer a plastic lining worthy of a fortress, with tape sealed tight to block off any resin escape routes.
And here's a pro tip: allow the epoxy to get a little tacky before gently pulling back the tape. This little move will make your life a whole lot easier than wrestling with tape that's become one with the epoxied sink. Take extra care to tape up any appliances, like those double stoves, anything that's within a splash zone.
Don't forget about the floor! Lay down paper on every path you'll be treading to intercept any resin you might step in – because tracking resin throughout the house is not the kind of lasting impression we're aiming for.

Follow these commandments, and you'll find that prepping is the make-or-break stage of an onsite epoxy pour. Armor your kitchen properly, and you're paving the way for a seamless, stress-free pour.
Now, as you gear up to transform your kitchen, I don't ask for much, but there are three simple things I’d love: like this video if you found it helpful, subscribe for more DIY gold, and hit that bell to stay updated on our latest uploads.
Thanks for hanging out with me, and get ready to pour your heart and soul into your very own epic epoxy transformation!
Remember, in the realm of epoxy, preparation is everything.
Take your time, double-check everything, and watch as your kitchen turns into a real showstopper.
Stay tuned for more epoxy resin guides and be sure to check out our other blog posts for more tips and tricks.


